


Everyone loves Figma, right? At least most of us do, and that is why I decided to teach you guys n gals about Figma Prototypes! They are used to make your designs interactive and communicates how you want your components to animate and transition between different states, which basically means we're just animating!
So, if you are not familiar with Figma, it's a prototyping tool just like Sketch, Photoshop,etc used by designers to create and present efficient mockups for their projects/websites. I will not cover the basics so if you have never used Figma,I will suggest having some basic understanding of it. Anyways what we are going to learn is pretty simple so there won't be many issues. Enough talk, let's do it. We will design a mockup for a website of an EDM festival hosting company.
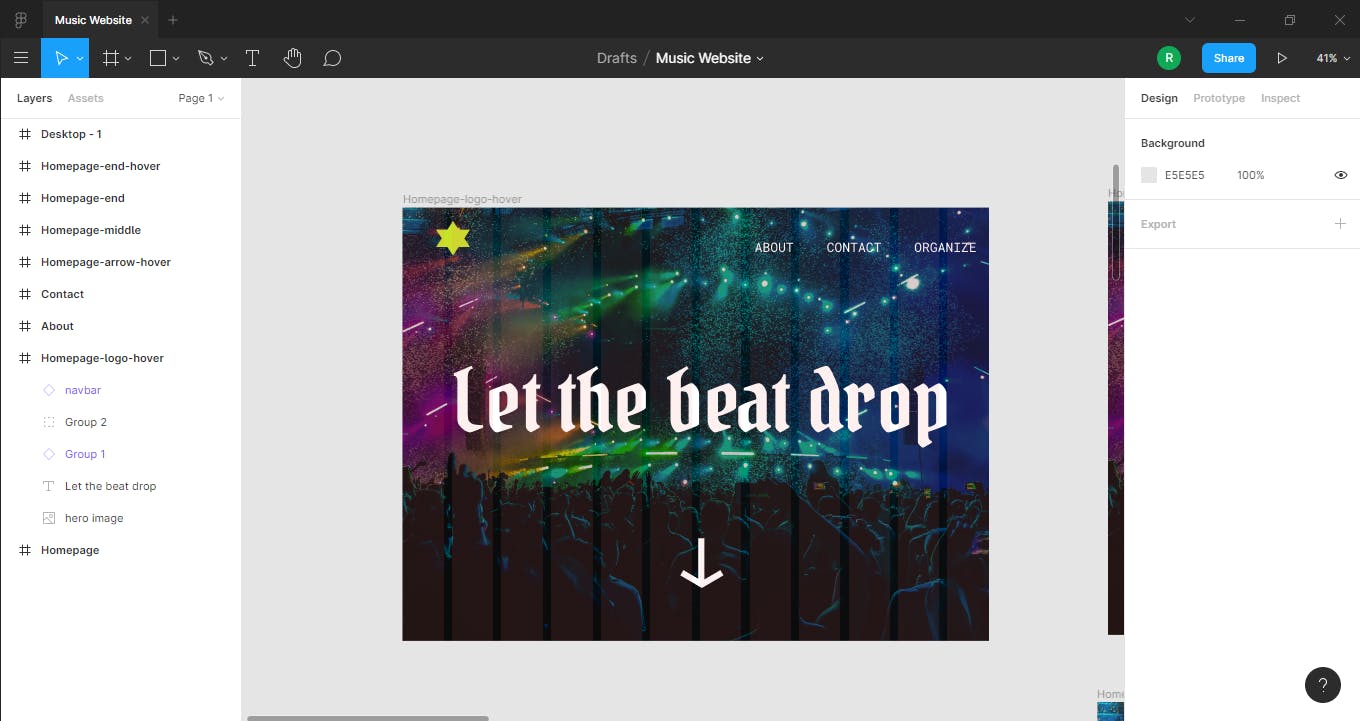
- Open Figma, and create an artboard by pressing 'a'.

- We will have about, contact and organize pages for our company.
- Click on the asset for which you want your interaction, I'll select about, and then go to the Prototype tab.You will see a "+" icon on the "about" when you hover over it , drag it to the about page that you made.
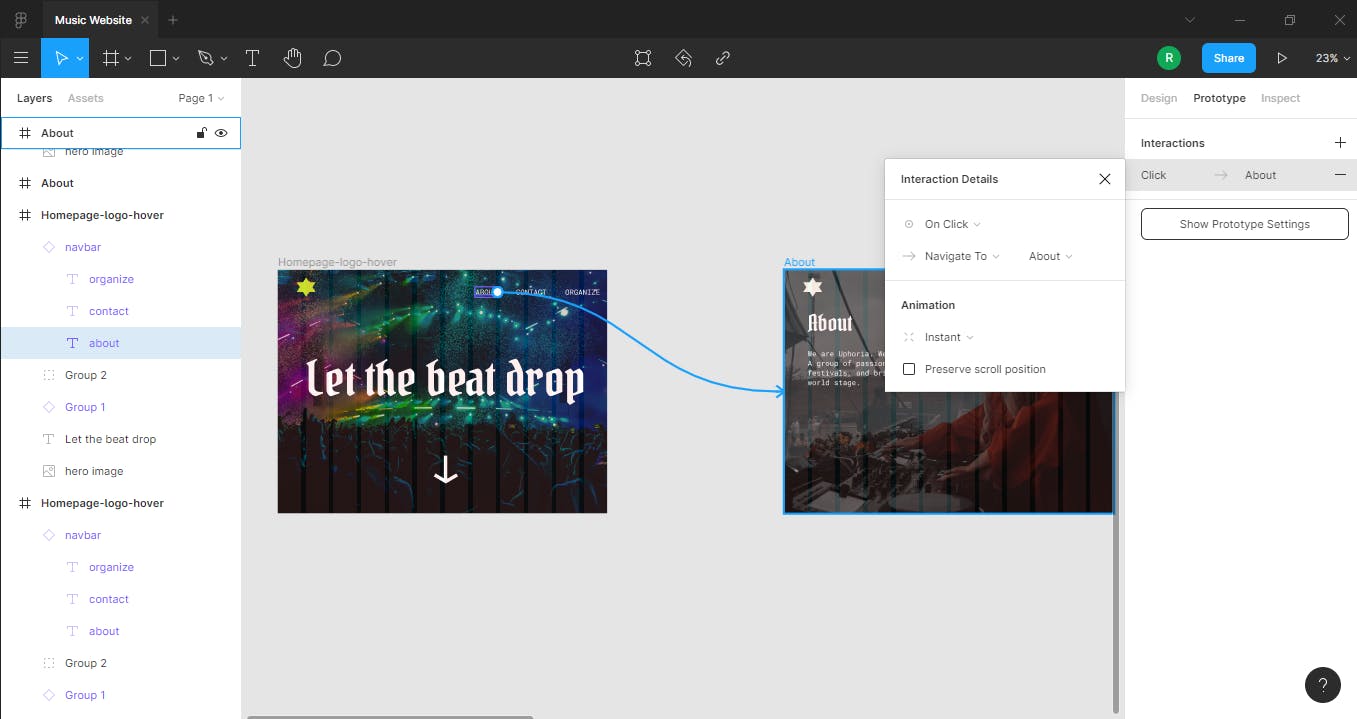 You will see the Interactions menu open up, and it has options to set the
trigger for this interaction like on click,on drag, while hovering. Next up is the Animation menu, to set how your page will animate to next page, and has options like Instant,Dissolve,Smart animate. Every animation has a different result. For now , select Smart Animate, and animate it by clicking the play icon in the top right:
You will see the Interactions menu open up, and it has options to set the
trigger for this interaction like on click,on drag, while hovering. Next up is the Animation menu, to set how your page will animate to next page, and has options like Instant,Dissolve,Smart animate. Every animation has a different result. For now , select Smart Animate, and animate it by clicking the play icon in the top right:

Smart Animate
If you can take away anything from this article, it should be how to use this property. Smart animate property is special in Figma, as it works by matching the layers of the two artboards, and this gives us some magical results. In the above example, our artboards were duplicated and even the text elements were the same that is why we get this smooth transition between these layers. You will see this in the final example when the background images transition when we go to different pages, if you choose any other animation, we will see the images slide from top, bottom, left or right depending on what you have chosen.
Quick tip
Design your homepage or your initial artboard first, and then duplicate it by pressing alt and dragging the layer. This will be useful for creating awesome animations by using Smart animate, as it will match all the layers from the previous artboard. After adding the about and contact page, adding some text and other components, and making the connections, we will get something like this

That was a short introduction to Prototyping, if you need in depth explanation of this topic, let me know! I'm sharing the figma file for people to check out because the GIFs are pretty choppy. Thank you for reading! figma.com/proto/zcNttfJngkxCGnzcrAboHZ/Musi..